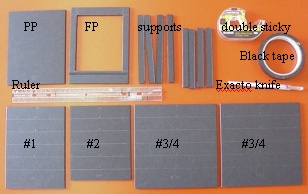
Layout all the pieces in the fashion shown.
Orientation is important.Pieces 1,2, 3, 4 all oriented with the "6" at the top and the number of the piece at the bottom.
Instructors: note the lines on pieces 1-4 at one inch intervals, making it easier to choose a focal length
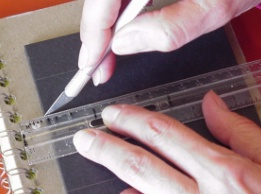
Decide on a focal length for your camera.Cut pieces 1-4 at the line representing your chosen focal length. ALWAYS cut over another piece of cardboard so as not to damage your table top.
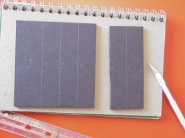
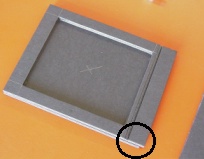
Place the film plate on top of the pinhole plate as shown. Side of the film plate in line with one end of the pinhole plate. The end of the film plate with the "groove" should stick over the edge of the pinhole plate.
Using a pencil, trace the inside edge of the hole in the film plate onto the pinhole plate.
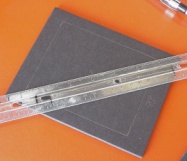
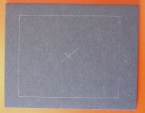
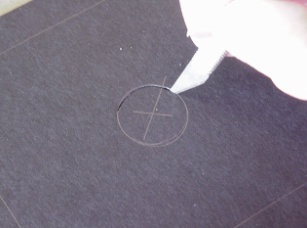
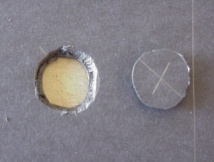
Save the piece cut out.
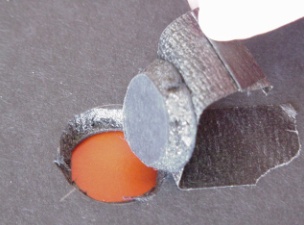
Using a piece of black tape [folded over at one end], tape the piece removed to the pinhole plate. This becomes your "shutter"The folded over piece of the tape become the "handle" for opening and closing the shutter.
If your pinhole is
ready, turn the pinhole plate over and center pinhole over shutter hole.
Tape in place

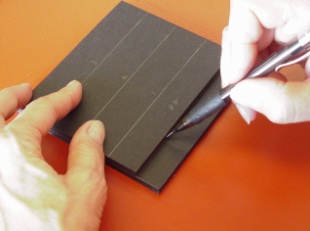
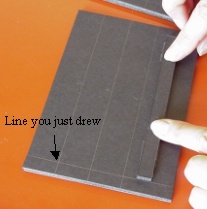
Using piece #2 as a template, draw a line on piece #1,3,4 at the edge of piece #2
KEEP THE ORIENTATION OF THE PIECES CORRECT as shown in step #1above
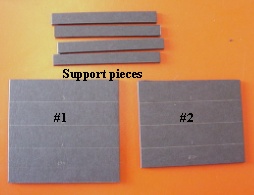
Collect the four short support pieces
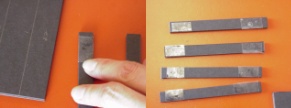
Tape each end of each of the support pieces
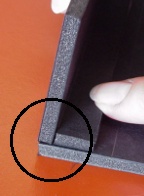
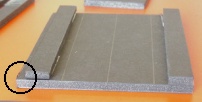
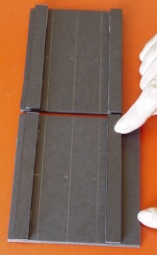
Do the same to piece #1, except the "bottom" support goes where the line was draw using piece #2.
With the tops of pieces #1 and #2 lined up, the supports should also line up.
ONLY on piece #2 does a support touch an edge.
You may wish to REWRITE #1 and #2 on these pieces as the supports have covered up the original numbers.
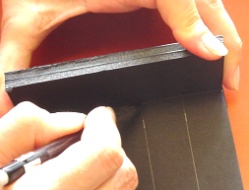
Using two pieces of scrap, draw a line on the left side of pieces #3 and #4, two pieces away from the edge.
Add tape the ends of the long support pieces, just like you did for the short one.
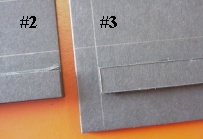
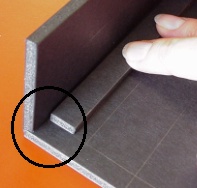

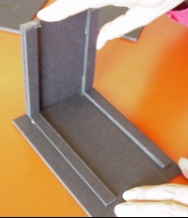
Place piece #2 onto piece #3, so that the tops line up and piece #2 with its supports fits in line with the supports on #3
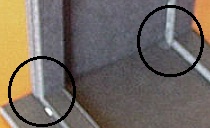
This is why we made a two thickness space in placing the supports.
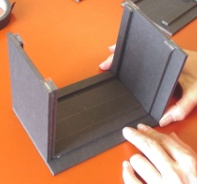
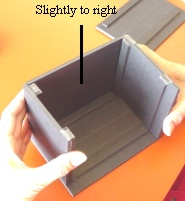

NOTE: the center of the shutter you made should be slightly to the right of the center of the pinhole plate. If not, turn pinhole plate 180 degrees and try again.
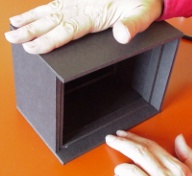
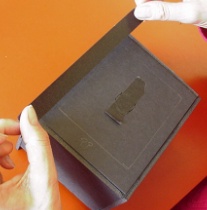
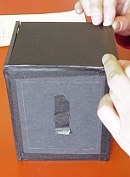
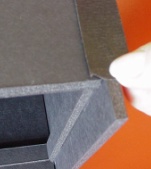
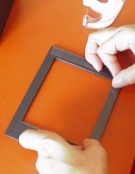

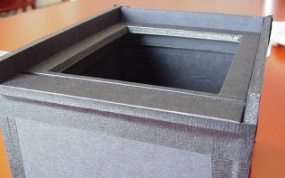
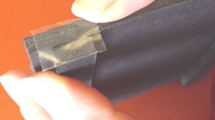
Finally, tape the "crack" formed where the film plate meets the camera body.
If you have not already done so, add your pinhole to the inside of the camera, centered over the shutter on the pinhole plate. Make sure you use black tape all around your pinhole to ensure no light leaks.
YOU ARE DONE !